


I have lived in loads of different places and have always rented. Let me tell ya, making a rental home feel like *you* is a process and journey all in itself. But if you have permission to paint from your landlord or property manager, this is my favorite way to personalize the space and make it feel like my own home. If you’re wondering how to go about asking your landlord if you can paint your space, I wrote out all of my tips here . But once you have the green light to paint all you like, here are my 5 tips when actually painting your rental:

TIP ONE: Buy Quality Paint
I know it’s annoying and more expensive but this is a big issue that landlords have with renters. Low quality, cheap paint is just that. It goes on thin and crusty and doesn’t age well. Especially if you’re painting an area like a bathroom or kitchen. Not to mention if the home is old and the walls already have several layers of old paint on them, a cheap paint will just lay funny. Spend the extra $10 on a higher quality base and be sure to let your landlord know that for the extra brownie points.
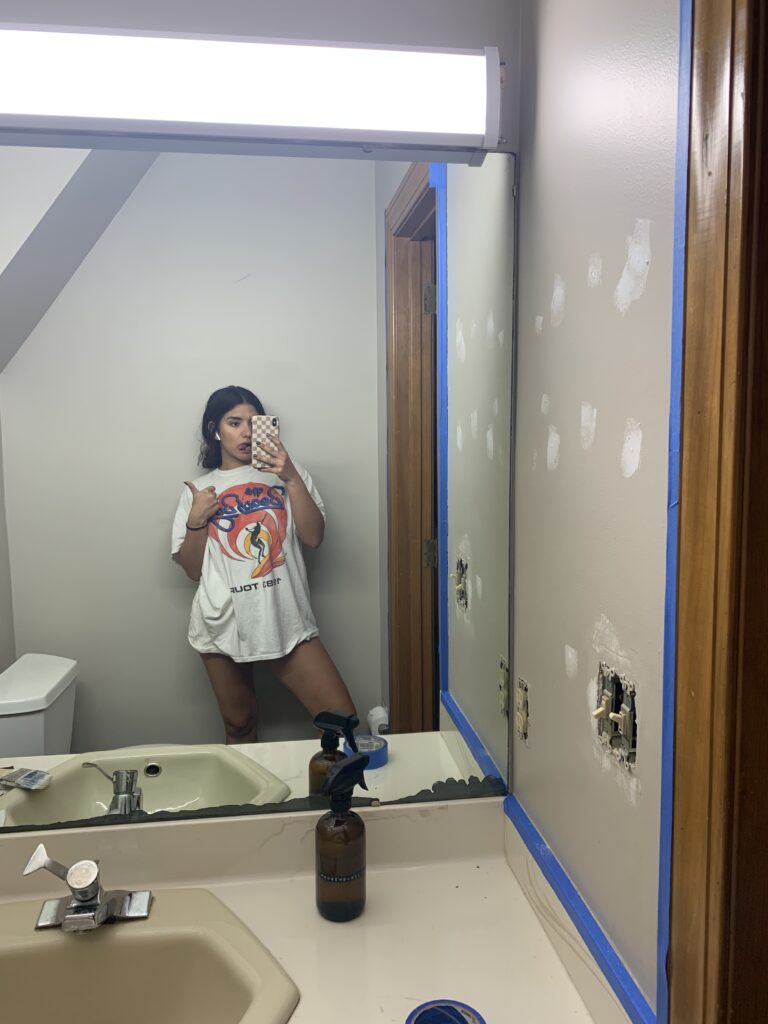
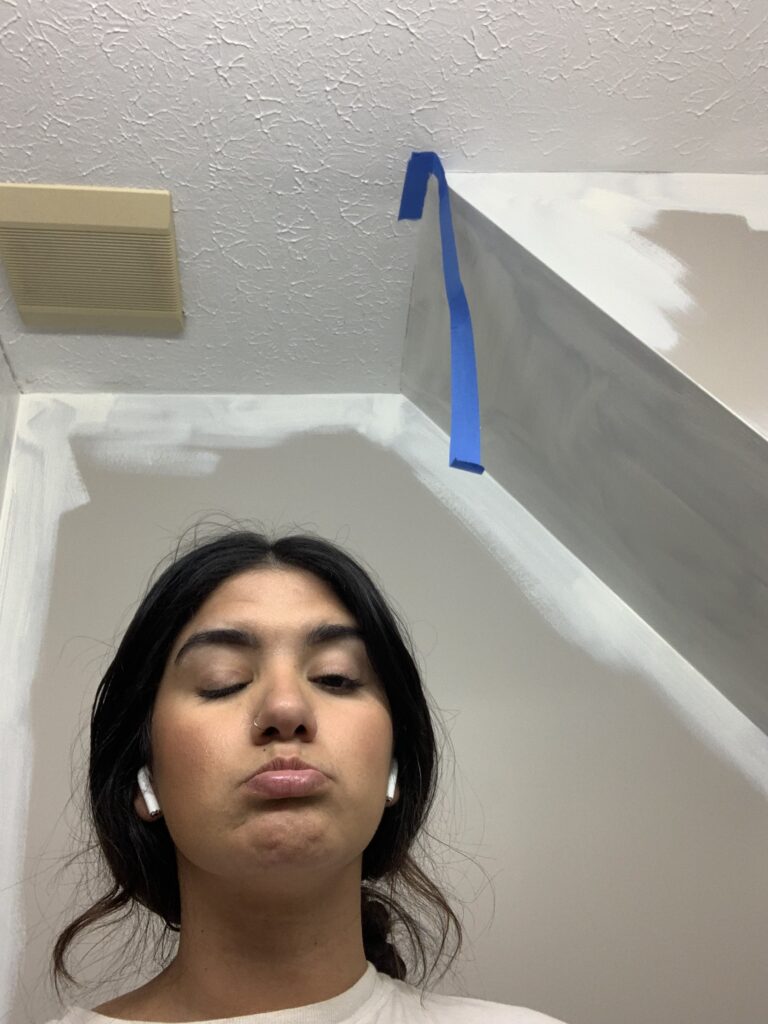
TIP TWO: TAPE OFF YOUR TRIM & CEILING
I’ve painting dozens of rooms over the years and one thing I never regret taking the time to do is taping off edges. I know it’s time consuming but you don’t own this space, taping off assists your painting job and keeps things clean and professional. I don’t care how steady you think your hands are, the one flick of the wrist when painting the top corner of a wall near the ceiling…you’ll be so glad you taped it off.
TIP THREE: LAY A DROP CLOTH
Continuing the idea of having a clean and professional work space, lay down a drop cloth or towel rag. Thankfully wet paint is somewhat easy to clean off the floor but if you have vinyl flooring or carpet or original hard wood floors even, it’s worth protecting. It only takes a second and you’ll be thankful you did once you start rolling that wall and little bitty splashes of paint go everywhere.
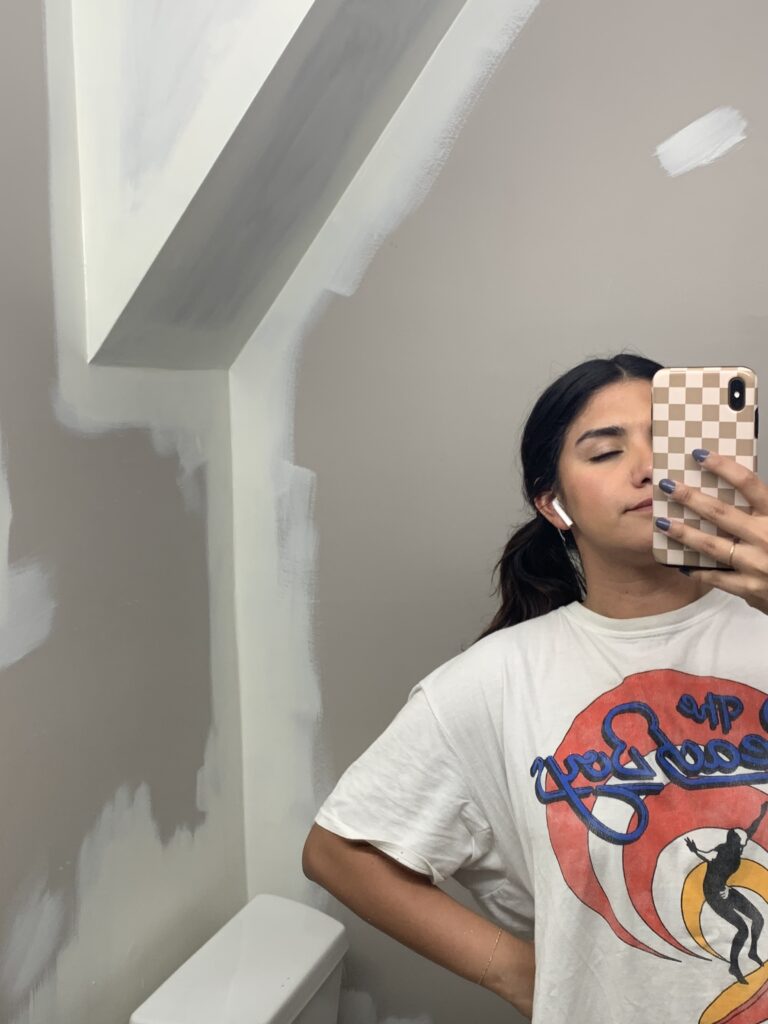
TIP FOUR: CUT IN
Another time consuming part of painting but necessary. One of my greatest pet peeves is a poor cut in job. The last thing you want is a great looking, solid wall paint job and corners/creases that look thin and see through. Spend time here and make sure your edges look really good. You might need two or three coats total but it’ll make the space look so much better and more finished.
TIP FIVE: WAIT TO HANG ANYTHING
This might be common sense but I have made the mistake of not letting paint dry fully and jumped the gun to attach my outlet covers and hang pictures. What happens when you do that you ask? YOU PEEL PAINT, and it sucks. So give your freshly painted room a solid 48-72 hours to dry before you start hanging things or attaching things to the walls.

CONCLUSION
In conclusion, prep a work space that is clean and orderly and invest in quality supplies to make your dream home come to life. If you found this helpful, let me know and be sure to follow me here and on my socials for updates on our home projects and DIYs.
Thank you for being here,
see you soon!
-ANNA

+ show Comments
- Hide Comments
add a comment