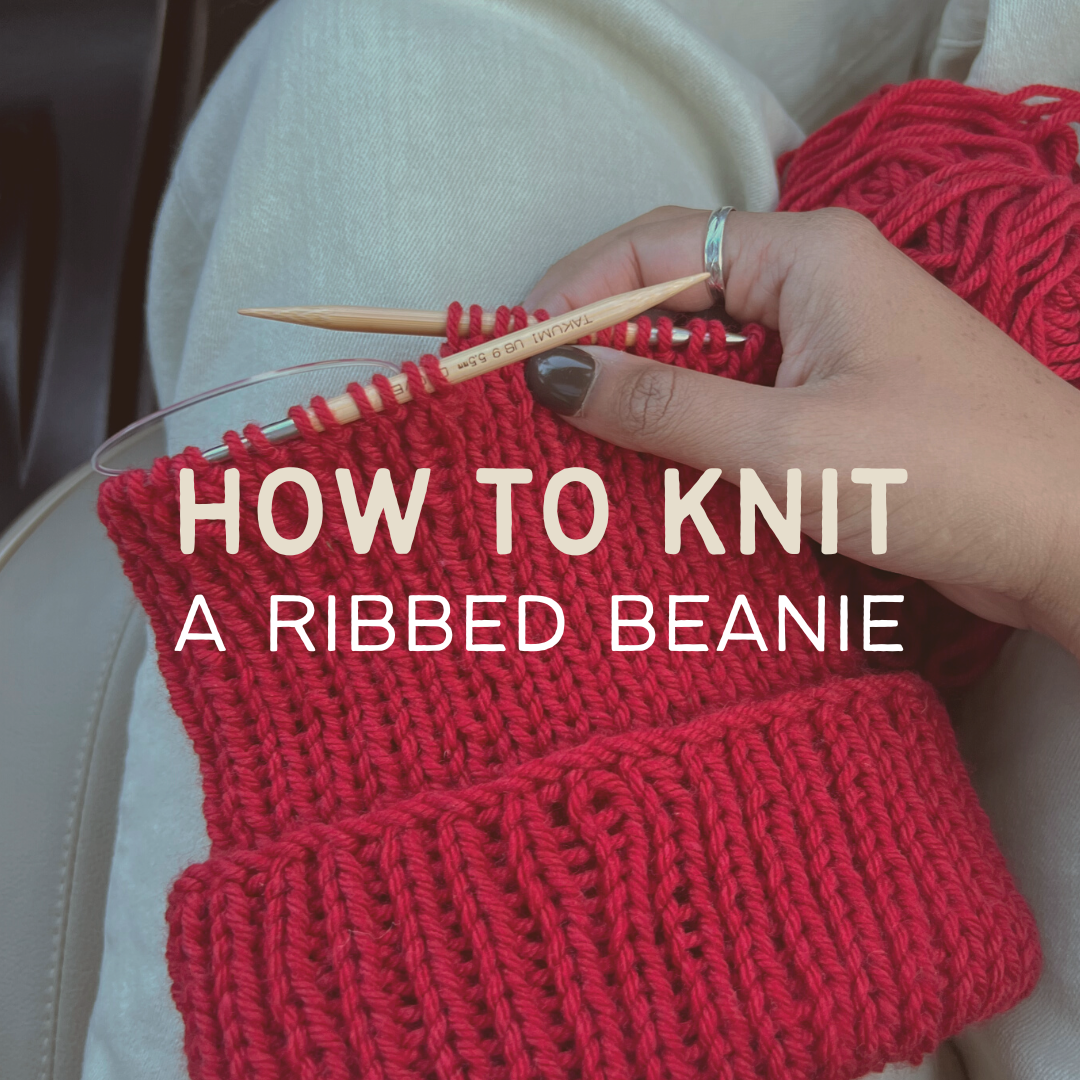
As a beginner knitter, I never thought I’d get to the point of “free knitting” or self drafting my own patterns but truthfully I had tried all sorts of beanie patterns and none of them came out the way I envisioned so I designed this one myself. Here’s how I knit a ribbed beanie and how you can too!
If you’re new to knitting or want to begin knitting, I have an entire blog post entitled “Knitting For Beginners and How To Start” so be sure to give that one a read! I knit this on size 6 or 7 needles (4 to 4.5mm) and with Medium weight (size 4) worsted yarn.
BEANIE PATTERN:
- Cast on 102 stitches (based on the size/width of your head) (Ive made some smaller beanies and cast on 82 stitches, and i’ve made some larger and cast on 116, it just depends).
- Knit 1×1 Rib Stitch (knit one, purl one). Continue knitting the knits and purling the purls until your knit tube measures 13-16 inches in length
- Then begin simple decrease =
K2tog (knit two stitches together) every 4th stitch one round, every 3rd stitch one round, and every other stitch one round, until you have only a handful stitches left on your needles.
- Cast off & cut a long tail for sewing
- Use a tapestry needle to weave in and out of the top. Then tighten and knot it. Weave in any ends and you’re finished!
Congratulations, now you know how to knit a ribbed beanie! Now listen, I consider myself an intermediate beginner knitter and I’m still unsure on how to properly write up a knitting patter or how to find the proper gauge (because I never knit gauges…) so there might be some variations in this based on your tension. Nonetheless, I hope this helps give you a good starting point and that you found it easy to follow! I can’t wait to see all you make and be sure to tag me in your ribbed beanies over on instagram! Much love, see you in my next blog!

+ show Comments
- Hide Comments
add a comment